Wednesday, November 25, 2020


Forever Fern with Many Messages 

I also made this card today (11/25/20) on my FB LIVE video on Darla's Cards....here's how I made it: 

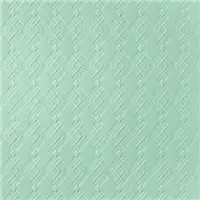
• Cut your cardbase as usual...8 1/2" x 11" sheet of cardstock (CS) cut in half and then scored in half. (One sheet will give you 2 cardbases). I used Mint Macaron 

• Cut your first layer from a piece of Designer Series Paper (DSP) to 4" x 5 1/4" and attach to cardbase. (I used the Gilded Autumn DSP)  

• Cut another piece of DSP to 3" x 4" and attach to above layer 

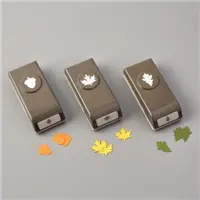
• Die cut out of Mint Macaron 2 leaves from the Forever Fern dies and 2 leaves out of Gold Foil 

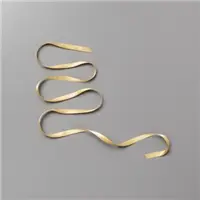
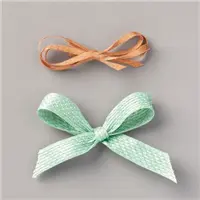
• Die cut out of Costal Cabana 2 leaves from the Painted Poppies dies Assemble on Card as desired, add a bow and the 2 Punched out acorn & leaf from the same DSP as your first layer 

• Choose a sentiment from the Many Messages (Bummer....these are not available until January 2021) and pop up with dimensionals 

• Finish the inside as desired, sign the back, decorate your envelope!


Foil Trees from Scraps

I made this card on my FB LIVE today (11/25/2020) so you can go check it out under Darla's Cards, but, in the meantime, here's how to put this card together:

  • Cut your cardbase as usual....8 1/2" x 11" sheet of cardstock (CS) cut in half and then scored in half.  (One sheet will give you 2 cardbases). I used Early Espresso CS
  • Cut a piece of Foil CS to 3 3/4" x 5"
  • Cut a piece of Designer Series Paper (DSP) (I chose a woodgrain piece from "In Good Taste" DSP) to 3 1/2" x 4 3/4" and glue to the above foil piece
  • Tie ribbon around the 2 layers and attach to cardbase
  • Now, for the 3 treees:
    • Get your scrapes of all your Foil paper (or try Glimmer paper) and adhear them to a piece of CS. (I cut mine at 1/4", 1`/2" & 3/4" strips - I also used our Adhesive Sheets to attach the Foil)
    • Using 3 Triange Dies from "The Right Triangle" cut out your trees
    • Choose an Embossing Folder of your choice (I chose Absolutely Arygle) and emboss all your die cut trees
  • Assemble all together and embellish as desired
  • Finish the inside, sign the back of your card and decorate your envelope!