Friday, February 12, 2021

Hey Birthday Chick!


Hey Birthday Chick On-line Class

Card #1

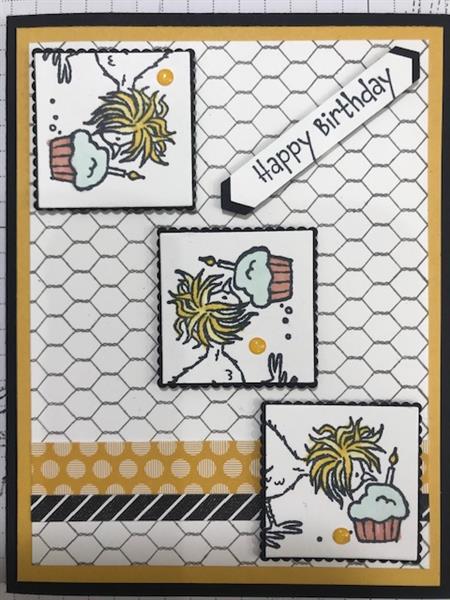
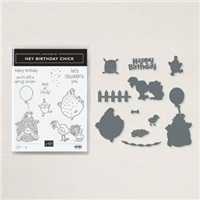
I simply can't get enough of the CHICKENS!  This bundle (Hey Birthday Chick) and the Hey Chick bundle are a necessary addition to your stash, but this class is just using the Hey Birthday Chick bundle....sad face...:(.   Here's how to put this cute card together:

  • Take your 8 1/2" x 11" Black cardstock (CS) and on the 8 1/2" side SCORE in half which is at 4 1/4".  Turn CS 90 deg. and CUT at 5 1/2". This will give you 2 card bases.
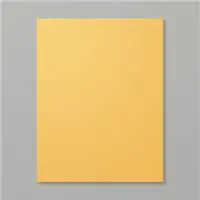
  • Cut a piece of Bumblebee CS to 4" x 5 1/4" and attach to your Black card base.
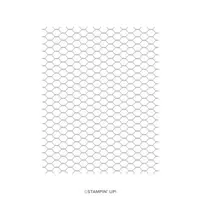
  • Cut a piece of White CS to 3 3/4" x 5" and stamp with Basic Gray ink using the "All Wired Up" stamp.....don't tell anybody but I already stamped this for you because I was afraid you might not have this stamp in your collection!.   DON'T ATTACH TO THE BUMBLEBEE CS YET.
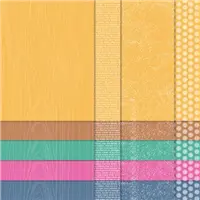
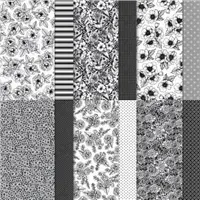
  • Cut 2 strips of Designer Series Paper (DSP).....1 strip = 1/2" wide and 1 strip = 1/4".  I used DSP from "True Love DSP" and "2020-2022 In-Color DSP".  Now attach to the White layer and trim off ends and attach to the Bumblebee layer.
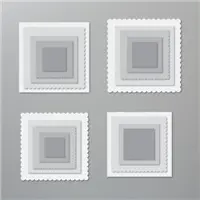
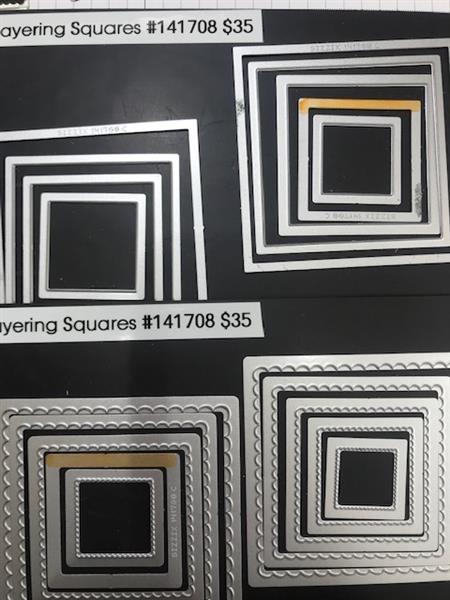
  • Die cut 3 each of the squares in White and 3 each in Black....see picture for the ones I used.
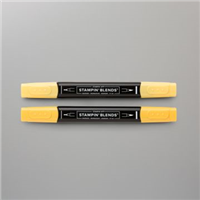
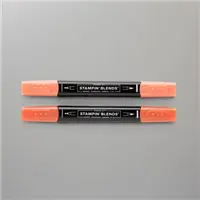
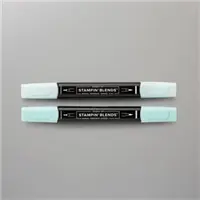
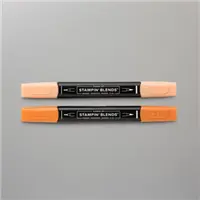
  • Stamp your image on the White Square and color using your Stampin Blends.  Here are the colors I used:  Light & Dark Daffodil Delight for her hair, Light Cajun Craze for the Cupcake base, Light Pool Party for the Icing, Dark Pumpkin Pie for her beak and feet.
  • Now attach to the Black squares and then pop them up on dimensionals, add your sentiment
  • Finish the inside, sign the back, decorate your envelope and your done!


Thursday, December 10, 2020

Gift Card Holders


 GIFT CARD HOLDERS

These Gift Card Holders are fun and easy to make! I used up some of my retired papers on some, but you can use whatever coordinating papers you like and it can be for Birthdays, Christmas or any occasion you choose. Here's how you make them,,,, 
• Take a full sheet of 8 1/2" x 11" Cardstock (CS) and cut to 4 1/4" x 11". 

• On the 11" side, SCORE at 2 3/4" and 5 1/2" 

• Cut 2 pieces of CS at 2 3/4" x 4 1/4 

• Cut 1 piece of Designer Series Paper (DSP) at 5 1/4" x 4". (this piece will be glued to the inside of your card 

• Cut 1 piece of DSP at 2 1/2" x 4". (this piece will be the same DSP as above) 

• Cut 1 piece of co-ordinating DSP at 2 1/2" x 4" 

• Cut 1 piece of Whisper White at 2 1/2" x 4" 

• Before you start assembling, take one of your Round Punches (I used the 1 3/4") and punch out a half circle out of the end of your CS where you scored at 2 3/4" 

• Glue all together and embellish as desired,

Saturday, December 5, 2020


IT’S THE GIANT YEAR-END CLOSEOUT EVENT!


If you love great deals, our Giant Year-End Closeout event is the perfect time to shop. You’ll get deep discounts on your favorite products from the 

August–December 2020 Mini Catalog

The Year-End Closeout happens only once a year, so don’t delay!!  Get your catalog out and start making your list.  

Be sure to watch my FB LIVE video on "Darla's Cards" Thursday at 3pm where I'll be going over the catalog showing you all the items on sale!

SALES PERIOD

8 December 2020–4 January 2021

  • * No minimum purchase required.
  • * Retiring items are available while supplies last.
  • * Items and discounts may vary by market (depending on inventory levels).
  • * Exclusions apply: Carryover items will not be discounted.
  • * Due to increased shipping times and possible shipping delays during the month of December, we can’t guarantee delivery before Christmas.

Also, be sure to use my December Host Code...ZMKQQDAP when ordering to get even more goodies from me!  If you have any questions or problems, just contact me at darlamorris37@gmail.com or 817-614-9679.

Happy shopping!!!

Wednesday, November 25, 2020


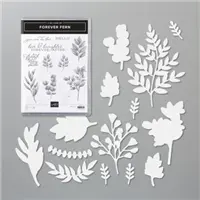
Forever Fern with Many Messages 

I also made this card today (11/25/20) on my FB LIVE video on Darla's Cards....here's how I made it: 

• Cut your cardbase as usual...8 1/2" x 11" sheet of cardstock (CS) cut in half and then scored in half. (One sheet will give you 2 cardbases). I used Mint Macaron 

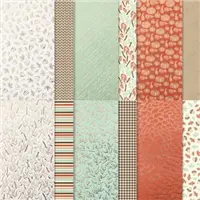
• Cut your first layer from a piece of Designer Series Paper (DSP) to 4" x 5 1/4" and attach to cardbase. (I used the Gilded Autumn DSP)  

• Cut another piece of DSP to 3" x 4" and attach to above layer 

• Die cut out of Mint Macaron 2 leaves from the Forever Fern dies and 2 leaves out of Gold Foil 

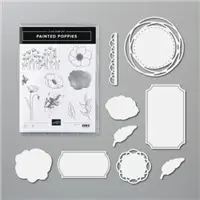
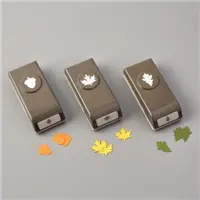
• Die cut out of Costal Cabana 2 leaves from the Painted Poppies dies Assemble on Card as desired, add a bow and the 2 Punched out acorn & leaf from the same DSP as your first layer 

• Choose a sentiment from the Many Messages (Bummer....these are not available until January 2021) and pop up with dimensionals 

• Finish the inside as desired, sign the back, decorate your envelope!


Foil Trees from Scraps

I made this card on my FB LIVE today (11/25/2020) so you can go check it out under Darla's Cards, but, in the meantime, here's how to put this card together:

  • Cut your cardbase as usual....8 1/2" x 11" sheet of cardstock (CS) cut in half and then scored in half.  (One sheet will give you 2 cardbases). I used Early Espresso CS
  • Cut a piece of Foil CS to 3 3/4" x 5"
  • Cut a piece of Designer Series Paper (DSP) (I chose a woodgrain piece from "In Good Taste" DSP) to 3 1/2" x 4 3/4" and glue to the above foil piece
  • Tie ribbon around the 2 layers and attach to cardbase
  • Now, for the 3 treees:
    • Get your scrapes of all your Foil paper (or try Glimmer paper) and adhear them to a piece of CS. (I cut mine at 1/4", 1`/2" & 3/4" strips - I also used our Adhesive Sheets to attach the Foil)
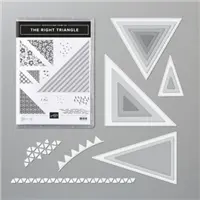
    • Using 3 Triange Dies from "The Right Triangle" cut out your trees
    • Choose an Embossing Folder of your choice (I chose Absolutely Arygle) and emboss all your die cut trees
  • Assemble all together and embellish as desired
  • Finish the inside, sign the back of your card and decorate your envelope!


Saturday, September 12, 2020


Prized Peony Card #1

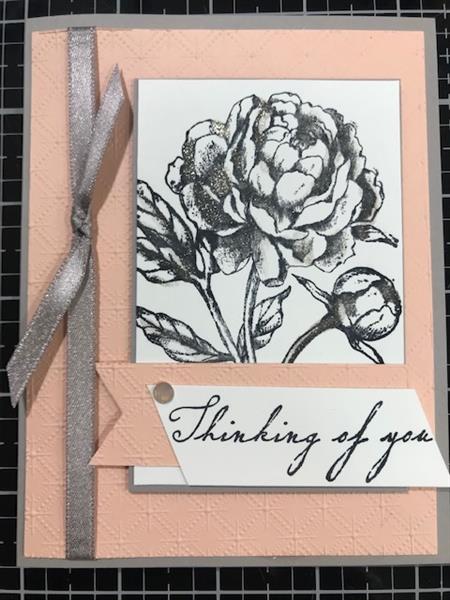
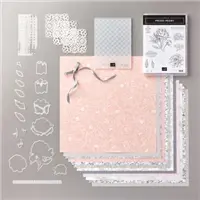
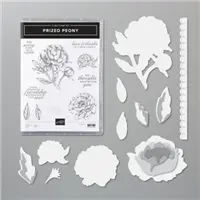
I love flowers!  Especially these beautiful Peonies.  I used Gray Granite and Petal Pink.  Pinks and Grays always go together.  So, here's how to make this lovely card:

  • Card base is Gray Granite (GG). 8 1/2" x 11" cut in half and then scored at 4 1/4".  (this gives you 2 bases)
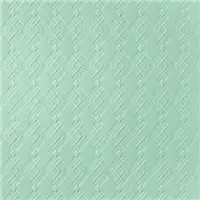
  • 1st layer is Petal Pink (PP) cut at 5 1/4" x 4" and used the "Dainty Diamonds" embossing folder (also emboss a strip of Petal Pink at the same time...approx. 1" x 3" and flag one end.
  • 2nd layer is Gray Granite cut at 2 5/8" x 4 1/4"
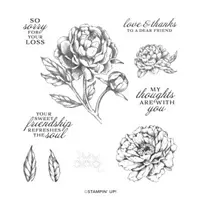
  • 3rd layer is Whisper White (WW) cut at 2 3/8" x 4".  Stamp your Peony on this layer (or any other flower/design you like)
  • On a strip of Whisper White stamp your sentiment....cut approx. 3/4" x 3 and angle cut your ends
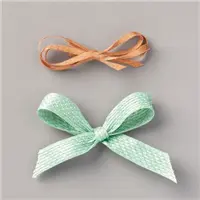
  • After all is stamped, start glueing together BUT first attach your Gray Granite Ribbon to the left side of your 1st layer (Petal Pink). NOTE:  you have 2 pieces of ribbon, the longer piece only wraps partially around the PP layer and the other ties on front in a faux bow.
  • Stamp the inside of your card, embellish as you like, sign the back, decorate your envelope and mail to someone you love!