Saturday, May 2, 2020
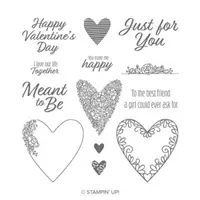




Meant to Be
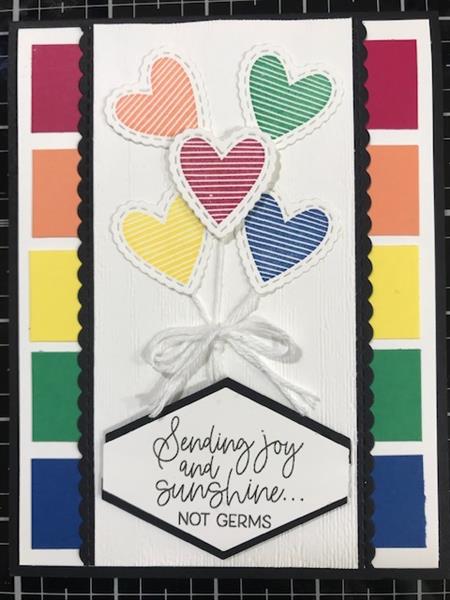
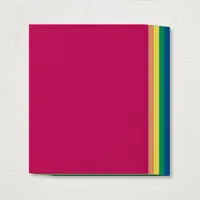
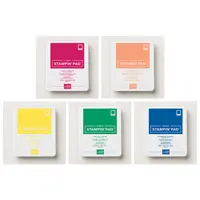
Meant to Be using retiring In-Colors 2018 - 2020
- Black is your card base. Cut at 11" x 4 1`/4" and scored at 5 1/2"
- Whisper White layer is 5 1/4" x 4"
- Cut your strips of colored cardstock 7/8" x 3 3/4" and adhere to the Whisper White layer. (I always start with the top strip, then the bottom strip, then the second, etc. - this allows me to space the strips evenly)
- Cut a Whisper White piece at 2 1/2" x 5 1/4", then I ran this piece through the Big Shot using the Subtles embossing folder (this is optional)
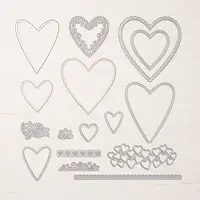
- Using the scalloped die in the Stitched Be Mine die set, I cut out 2 strips in Black cardstock and glued to the back side of the 2 1/2" x 5 1/4" piece
- Using the small heart in the Meant to Be stamp set, stamp one of each of the In-colors and then run through the die cutting machine
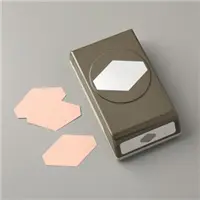
- On a scrap piece of Whisper White stamp your sentiment and then using the Tailored Tag Punch - punch out one Whisper White and one Black. Cut the Black in half and glue to the back of your Whisper White piece. Put Dimensionals on the back
- Now you can start to assemble your Card....
- Glue down 4 of your Hearts and pop up one Heart in the middle as shown above. Also, add your White Baker's Twine on the back side of the popped up heart. Plus add Baker's Twine to the 2 bottom hearts before glueing down.
- Add a bow
- Using dimensionals pop up this piece and adhere to your striped piece and then glue all to your base
- Finish the inside of your card to your liking, sign the back and embellish your envelope!!
Friday, April 24, 2020
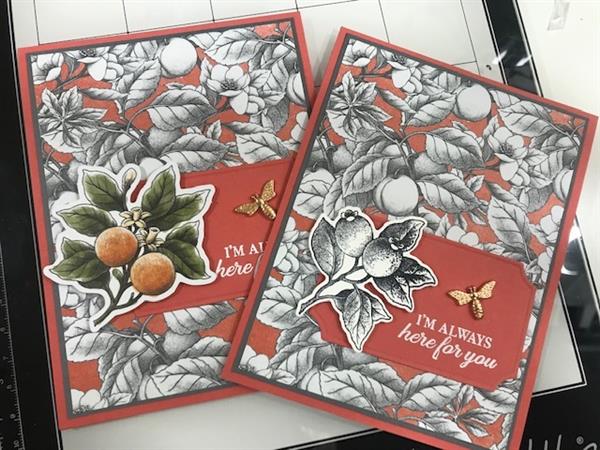
Botanical Prints Medley Card #2
This card lets the Designer Series Paper (DSP) do all the work for us. Here's what to do:
- Card base is Terracotta Tile at 11" x 4 1/4" and folded in half
- Next layer is 5 1/4" x 4" in Basic Gray
- Next layer is the beautiful DSP at 5 1/8" x 3 7/8" (included in this product medley)
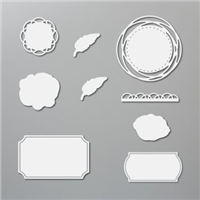
- I used the largest rectangular frame in the "Painted Labels Dies" to cut out my label in Terracotta Tile
- Using VersaMark Ink I stamped my greeting and then heat embossed in White in the lower right corner
- On one card I used one of the "Die Cut Accents" (that is part of this product medley) and on the other card I stamped on a scrap of Whisper White in Black Memento and then used the coordinating die to cut out (all included in the product medley)
- Using Stampin' Dimensionals pop up the above accent piece
- Using a Glue Dot adhere the Copper Bee (included in this product medley)
- Finish the inside of your Card as desired, decorate your envelope and sign your beautiful card!!
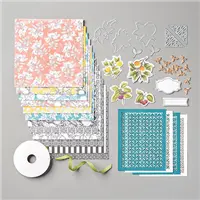
Here's a list of the Products I used...




Botanical Prints Medley Card #1
This Card has a lot of layers....so here are the measurements:
- Card base is Night of Navy at 11" x 4 1/4" folded in half
- Next layer is Whisper White at 5 1/4" x 4"
- Next layer is Night of Navy at 5 1/8" x 3 7/8"
- Whisper White at 4 1/2" x 3 1/4"
- Night of Navy at 4 3/8" x 3 1/8"
- and....finally the last layer is Whisper White at 4 1/4" x 3"
- Using the layer in step #3, stamp along all sides in VersaMark and heat emboss in White
- Using the layer in step #6, stamp your Greeting slightly above Center with Night of Navy ink and then stamp around all sided with Night of Navy ink as well
- Adhere all layers in steps 2 - 6 together, tie your ribbon around them all and then
- Adhere to your card base
- Stamp the inside of your card and your envelope and don't forget to sign your beautiful card!
Look below for a list of all products I used.



Wednesday, April 22, 2020
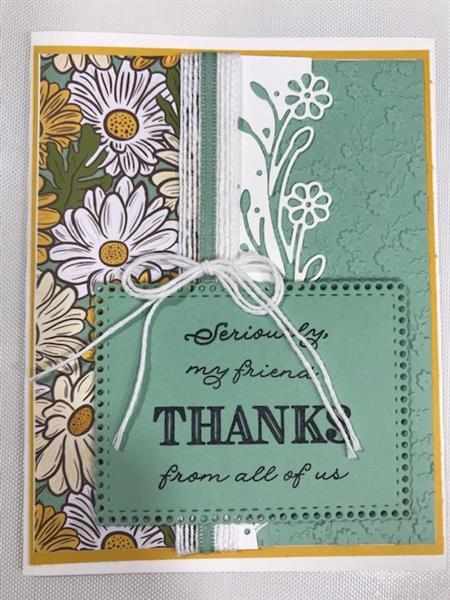
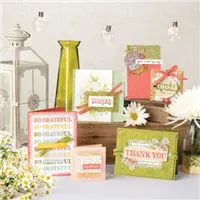
Ornate Garden Card #1
- Take a sheet of 8 1/2" x 11" card stock (CS) and score on the 8 1/2" side at 4 1/4" then rotate to the 11" side and cut at 5 1/2". That will give you 2 card bases.
- Cut your first layer of Crushed Curry at 5 1/4" x 4"
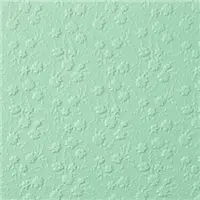
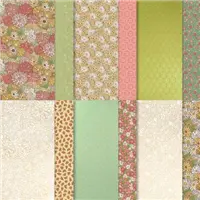
- Cut a piece of Whisper White CS at 5" x 3 3/4" and to that glue a piece of Designer Series Paper (DSP) cut at 1 3/4" x 5". Then take a piece of Mint Macaron CS 2 1/4" x 5" and run through your Big Shot using the Ornate Floral 3D Embossing Folder and glue to the Whisper White CS butting up to the DSP
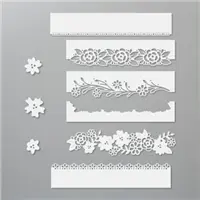
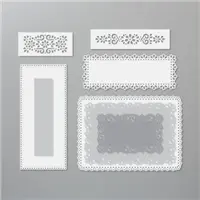
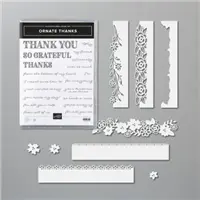
- Using a scrap of Whisper White die cut out the boarder die from the Ornate Thanks Bundle and glue close to the seam of the 2 papers above
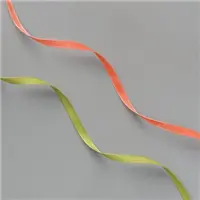
- I used two ribbons....Whisper White Flax Ribbon and Mint Macaron Sheer Linen Ribbon to hide all the seams
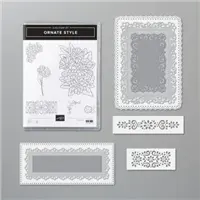
- Cutting out my label was a little tricky. It measures approximately 3 1/8" x 2 3/8". I used from the Ornate Style Bundle the largest skinny die and shortened it by not running it through all the way in my Big Shot, then cut the other side the same way.
- Stamp your sentiment on the label and pop it up on dimensionals
- Used Bakers Twine to tie a small bow and attach
- Complete the inside as you choose and don't forget to sign the back of your cards and embellish you envelope too!
Tuesday, April 14, 2020
Ornate Garden "I'm so Grateful"

Using the Ornate Garden Suite here's how I made this beautiful card!
- Take your Card base and trim off 1 1/4" from the front bottom
- Take that 1 1/4" and die cut out the floral boarder
- Using Tear & Tape on the backside of your card base attach the floral boarder piece
- After your floral boarder piece is attached then use more Tear & Tape to the backside and attach your Ribbon. (I used Glue Dots on each end of the Ribbon to attach to the Front of the card base.
- Tie your bow and attach using glue dots
- Die cut your white frame and
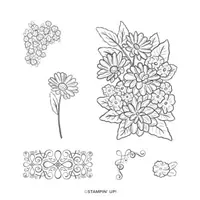
- Stamp your greeting on a scrap of card stock (same color as your card base) and die cut out
- Glue your greeting to the decorative frame and then using deminsionals attach to the front of card
- Use a 4" x 5 1/4" Whisper White for inside of card and stamp as desired
- Don't forget to decorate your envelope and sign the back of your card
Here's a list of products I used:
Ornate Style bundle (Stamp Set & Dies). #154119
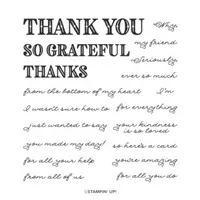
Ornate Thanks bundle (Stamp Set & Dies). #154115
The ribbon I used is unfortunately discontinued but use whatever ribbon you like
Stampin' Dimensionals. #104430
Tear & Tape. #138995
Mini Glue Dots. #103683
Multipurpose Liquid Glue. #110755
Black Memento Ink. #132708
To order any of these product, please click on the "shop" button at the top of this page using my APRIL HOST CODE: V76Z6PRN
And don't forget about my "SAB" items (see below). - with every $50 order you get to choose any SAB item (while quantities last) absolutely FREE...plus you'll receive from me at least 20 sheets (6x6) designer series paper FREE!!! WOW - what are you waiting for?

Stampin’ Up! has updated the Clearance Rack with lot of new goodies! Yay!!! Head over there speedy quick to get your hands on some great deals. But hurry!! Clearance Rack deals are only while supplies last!
I saw lots of Holiday Catalog designer series paper and embellishments as well as lots of dies and some card kits too!
Head over to my online store to shop those great deals now!! Have fun shopping!
Just click on the "Shop" button above to start saving.
April Host Code: V76Z6PRN
Use this host code when you order $50 or greater and receive a free gift from me! If your order is over $150, please do not use this code, but you’ll still get the free gift. The free gift is your choice of any item valued up to $10.00 in in either the 2019-20 Annual Catalog or the January-June 2020 Mini Catalog! Plus see below about SAB! It applies to any order...yay again
April Host Code: V76Z6PRN
Use this host code when you order $50 or greater and receive a free gift from me! If your order is over $150, please do not use this code, but you’ll still get the free gift. The free gift is your choice of any item valued up to $10.00 in in either the 2019-20 Annual Catalog or the January-June 2020 Mini Catalog! Plus see below about SAB! It applies to any order...yay again
Subscribe to:
Posts (Atom)